


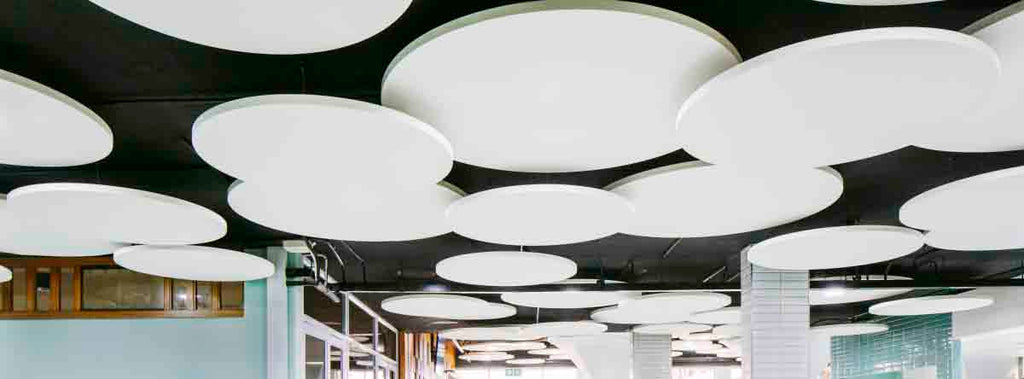
When it comes to installing our Solo™ Panels it may seem like a daunting job, but trust us when we say it’s easy.
There are three different fixing options available when purchasing a Solo™ panel, (two if you are purchasing the Circle 80mm) first is the Adjustable Wire, second is the Connect™ Bracket, and last but not least is the Connect™ One-Point fixing. This is the only fitting method that has an additional charge.
If you purchase a Solo™ panel you will receive a fitting template as part of the order, check all parts of your order before recycling any packaging as the cardboard template may be caught up in it.
Check list
Now for the important part, make sure you have all the necessary equipment to hand before you start to install your panel, you will need:
- A pencil,
- A cross head Screwdriver
- Spirit level
- Screws, these are not provided in your fittings. -We would advise to get flat head screws, speak to your local hardware store and they will be able to advise you on the correct screws needed for the material you are fixing to, e.g. plasterboard, soffit or concrete.
Fitting with Connect™ Adjustable Wire Hanger
Decide on where you want to hang your panel, then using your template mark each 4 corners on the ceiling. These points will be where the wires hang from – not the four edges of the panel.
Next screw in the ceiling hanger and wire into the ceiling, we do not provide the screws as we do not know the material of your ceiling and screws do differ- we’re good but not that good!
Head to your panel, using your trusty template again, align the template into the corner of the panel and mark out the internal edges, this will then provide you with the center point of the panel. Line up the center point to the center cut out on the template and then mark the four corners again, these will now match the marks you made of the ceiling!
Screw in the Absorber Anchors, using a 4mm hexagon tool screw driver. Do not use an electric drill this will be too heavy on the panel and you will risk damaging it.
All that’s left to do is connect the Absorber Anchor to the wire hangers already connected to the ceiling, making sure its level, to adjust depress the button on top of the hook, which enables the hook to travel up and down the wire. All wires should be under tension.
Fitting with Connect™ Absorber Bracket & Anchor
Again using the template (see we told you it was to be treated like gold) position this on the ceiling and mark out each corner. For 1200mm circle, align to corners of template, for 800mm circle, align to curved line.
Next screw the ceiling part of the bracket to points already marked, Head to your panel, using your trusty template again, align the template into the corner of the panel and mark out the internal edges, this will then provide you with the center point of the panel. Line up the center point to the center cut out on the template and then mark the four corners again, these will now match the marks you made of the ceiling!
Screw in the absorber anchor leaving a 5mm gap between the product and the top of the screw mechanism, you may find this is one coil left. This will all become clear in a second. Remember don’t rush ahead a use an electric drill as you may damage the product. Our glass wool core is tough on noise and echo but is delicate and can be damaged easily.

You’ll next need to slide the arms of the bracket under the head of the anchor, this is why you need to leave the 5mm gap, once you have done this you can go ahead and tighten the Anchor with your screw driver.
Now you have the brackets all in place, wearing gloves! Lift the acoustic panel up on to the bracket, slide back into place and release.
Easy as that!
Fitting with Connect™ One-Point Fixing
Decide where you want to hang your panel, mark out the central point and screw in the One-Point fixing. Next its back to the trusty template align the template into the corner of the panel and mark out the internal edges, this will then provide you with the center point of the panel. For 1200mm circle, align the corners of template and mark the smaller semi-circle on the outer edges to give you the center point.
Using the center point mark position, the template and mark each four corners, next screw in the absorber anchors on to the four points, this part is key, make sure that all of the opening of the eye is facing inwards, as you need to feed the wire through the diagonal anchors.

Once you have fed the wire through two anchors feed it through the one-point fixing attached to the ceiling, repeat this with the remaining two anchors and second wire, then hoist up to desired length. To adjust depress the button on top of the hook, which enables the hook to travel up and down the wire. All wires should be under tension, last but not least ensure that the panel is level!
Please note this fixing method is only available on 1200mm Circle or Square.
Click here to download Solo Square Installation guide as a PDF
Click here to download Solo Circle Installation guide as a PDF